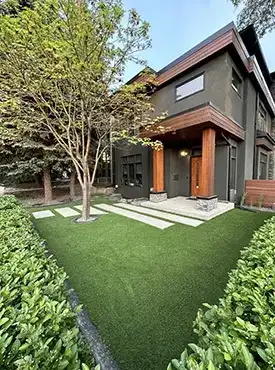

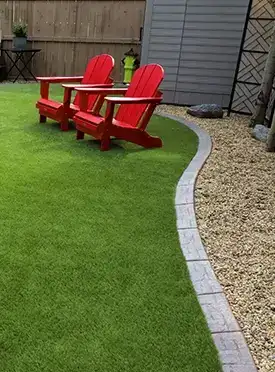


Embark on Your DIY Journey
Embrace the DIY spirit with our comprehensive guide. We're here to empower your project from the ground up, ensuring you have all the support for a successful installation.
Embrace the DIY Spirit
This page is your gateway to becoming a DIY champion. We’ll outline the essentials you need to kick-start your project, from the must-have tools to key considerations for material quantities. We want to empower you with enough knowledge to plan your project with confidence.
While we keep our proprietary installation secrets for full-service clients, once you select your turf and make a purchase, you gain exclusive access to our knowledgeable team for a step-by-step guidance.
Here, we lay out the groundwork so you can weigh up whether a DIY approach fits your situation. Get ready to turn that dream project into a green reality with The Synthetic Turf Co. DIY support.
GETTING PREPARED
Before diving into your turf installation, let's tick off the pre-project checklist. Assess your toolkit – do you have what's needed or are there tools to rent or buy? Consider the access for larger equipment; if a skid loader is on your list, ensure it can navigate to your intended space.
Know your ground – identify exactly where your turf will lay. A crucial step is to contact Alberta Click Before You Dig to safely mark any utility lines. Equally important is confirming property lines to avoid any disputes or encroachment issues.
Create a detailed sketch of your area with precise measurements. This isn't just a rough drawing; it's the blueprint that will guide your entire project. It’s essential for us to assist you with material estimates, from turf rolls to infill quantity.
And lastly, gear up for some hard work. DIY is rewarding but it's also hands-on and intensive. If you're ready for the challenge, we're here to back you up every step of the way!
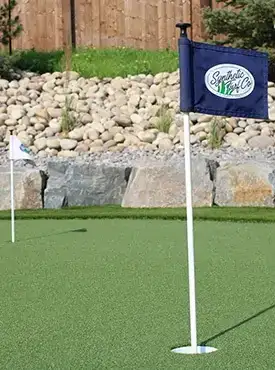
SELECTING YOUR MATERIALS
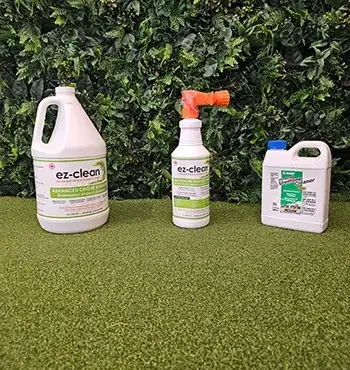
Venture into the exciting phase – selecting your perfect turf! Visit our showroom or browse our online store to find the turf that best suits your vision. But there's more to it than just the grass; you'll need to pick up all the essentials like infill, nails, glue, seam cloth, and edging.
Planning is key for base prep. How will the crushed aggregate base reach you? A dump truck or a rental trailer? And let's not forget about the excavated dirt – we'll help you understand your options for removal and disposal.
Once you've picked out all your materials and outlined your project timeline, you're ready to take the next step. Ensure you've got a solid delivery plan for your turf and base materials because, after that, it's time for the hands-on work to begin!
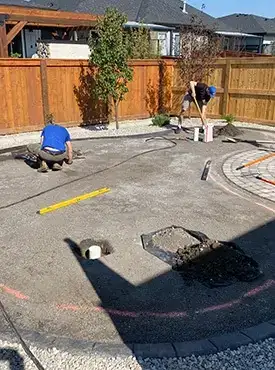
BASE PREPARATION
Your project begins to take shape as you start the groundwork. You'll excavate the current soil to a depth of 4-6 inches, ensuring that the subgrade slopes away from any structures to promote drainage. It’s crucial to remove all organic matter, including sod, weeds, and tree roots – for tree-related concerns, definitely consult an arborist
Next is the installation of the crushed base. It’s not just dumping and spreading; you'll methodically grade and compact the aggregate in 1-2 inch lifts. Each layer must be compacted thoroughly using a plate tamper to ensure a solid foundation. And don’t forget the edging – it gives your turf a defined border and helps with the overall stability. Keep in mind, there's a wealth of detailed steps available for our customers that delve into the nuances of perfect base prep.
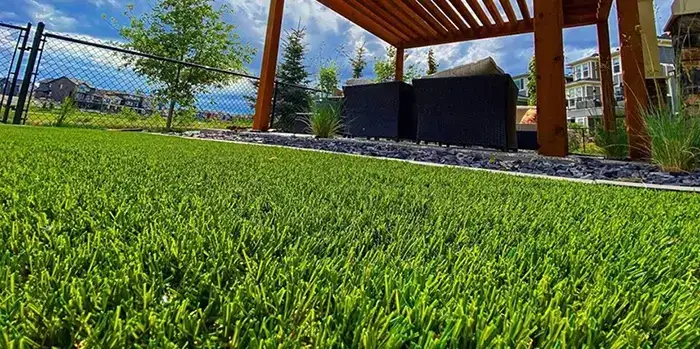
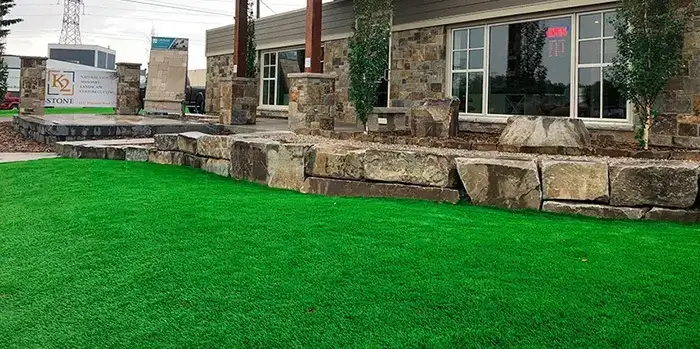
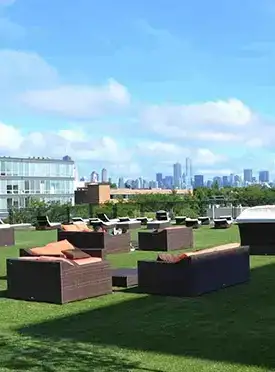
TURF INSTALLATION & COMPLETION
Now comes the zenith of your DIY journey – laying the turf. This stage demands your undivided attention and a steady hand. Plan your turf layout carefully; unroll and let it relax to eliminate wrinkles. When cutting, measure twice and cut once to avoid the heartache of errors.
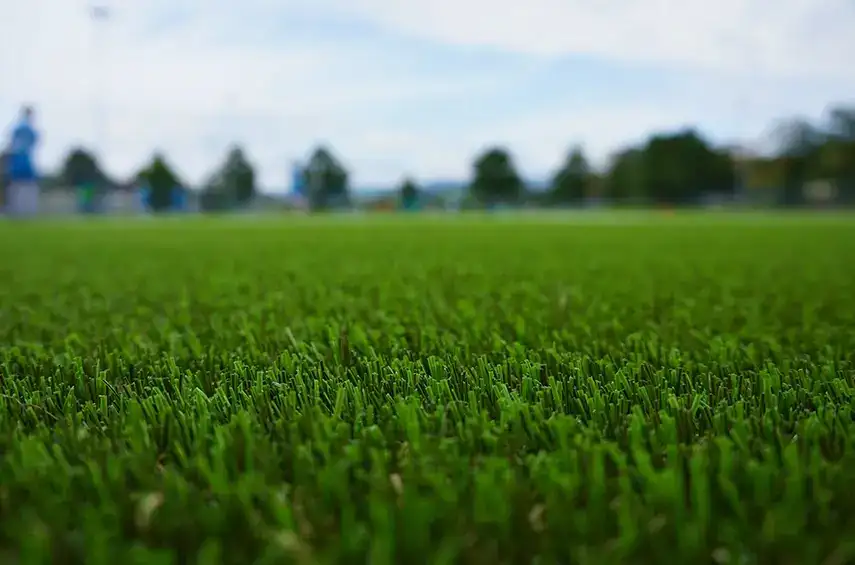
Seaming requires patience – align your turf edges with precision, and secure them with seam tape and glue. Next, fasten the turf perimeter with nails, ensuring they're placed at the right intervals for a secure fit. When it comes to infilling, distribute it evenly and use a power broom to work it down to the turf's base, standing up the fibers for a natural look
Clean up, step back, and admire your work. You've transformed your space, but remember, while we've outlined the basics here, our comprehensive tutorials and support are reserved for customers to ensure a professional-level finish. It's DIY with a support system, and we're here every step of the way – should you choose to bring in the experts, we're just a call away.
Essentials for a Solid Foundation:
Embarking on base preparation for your synthetic turf? Our recommended must-have tools ensure the groundwork is set right for a lasting installation. From precision grading with rakes to proper compaction with a plate compactor, these essentials are your foundation for success. And if you're up for added efficiency, our list of 'nice-to-haves' like a sod cutter or powered wheelbarrow can speed up the process and ease the labor.
Tools and Equipment Related to Base Prep.
| MUST HAVES | NICE TO HAVES |
|---|---|
| Shovels - Both Spade & Flat | Skid Steer -Bobcat MT100 or Bigger. |
| Wheel Barrow - Heavy Duty | Sod Cutter |
| Rakes - Garden & Landscaping | “Mud Buggy” |
| Plate Tamper - At Least 150lbs+ | Mini Excavator |
| Hand Tamper | Pickup Truck & Dump Trailer |
| Garden Hose - With Nosel | Lasar Level |
| Pressure Washer - For clean up | Marking Paint |
| Friends & Family | More Friends & Family! |
Tools for Turf Perfection:
When it's time to bring your synthetic turf to life, these are the tools that will see you through. Sharp utility knives make precise cuts, while a good hammer and tape measure are needed throughout the pricess. And to elevate your DIY installation, consider our 'nice-to-haves' list, where a carpet kicker and a drop spreader can offer professional touches to the finished product. With the right tools in hand, you're set to enjoy a beautiful, low-maintenance green space.
Tools and Equipment Related to Installation
| MUST HAVES | NICE TO HAVES |
|---|---|
| Utility Knife - Lots of Extra Blades | Knee Kicker |
| Hammer - For the Turf Nails Barrow - Heavy Duty | 3’’ Brick Chisel - (explained in the how to videos) |
| Push Broom - Installing the Infill | Turf Dolly - Moving Heavy Rolls. |
| Tape Measure | Super Seam Tool |
| Slotted Trowel - For the Seam Glue. | Turf Scissors |
| Grabage Bags - Heavy Duty | Spiked Seam Roller - For Putting Greens. |
| Leaf Blower | BackPack Blower - More Power! |
| Power Broom - With Nylon Bistle | Drop Spreader |
| A Friend | A Friend Who Knows How to Install Turf. |
Dirt Removal and Disposal: Your Options
When you’re preparing your space for artificial turf, the first task is removing the existing dirt and sod. This can be a significant job, and choosing the right method for disposal is crucial. Here's a breakdown of the options available to you:
Truck Self-Haul
This method suits smaller, manageable quantities. Use the bed of a pickup truck to transport the soil to the dump. Note that there might be higher landfill fees for organic matter. For plain dirt, securing a clean fill number can reduce costs.
Rent a Dump Trailer
Ideal for medium quantities, a dump trailer can be rented from local equipment providers. Take the filled trailer to a specialized facility such as Dirt-Dump, where a flat fee is typically charged. This option provides convenience and reduces physical strain compared to manual loading and unloading.
Bin Rental Services
Consider using companies like 310-Dump that offer bin rental services. They will deliver a bin to your property and remove it once filled. This service is particularly advantageous as it allows for easy loading, works well with a range of equipment, and is cost-effective for various project sizes.
Professional Dump Truck Services
For larger-scale projects, hiring a dump truck might be your best bet. A professional service can deliver your new base material and then remove the old dirt after you load it. This option requires you to have access to a full-size skid steer loader and enough space for the truck to maneuver and park while being loaded.
Crushed Aggregate Delivery Options
Ensuring you have the right amount of crushed aggregate for your base is pivotal. Let’s explore the tailored methods to get the material to your property:
Pick-Up Truck and Dump Trailer Method
For those with access to a pickup truck or considering a dump trailer, this method offers flexibility based on your project's scale. Pickup trucks, depending on their capacity, can handle about 2000 lbs, equating to roughly 1 cubic yard of aggregate per trip. This approach, while manageable for small projects, involves considerable manual labor in loading and unloading.
Expanding on this, a dump trailer can significantly increase your haulage capacity. The amount of material you can transport is determined by the trailer’s size and its rating, along with the towing capacity of your vehicle. For example, with a truck that has a 10,000-pound towing capacity and a trailer weighing 2500 pounds, you could transport 2-4 cubic yards of aggregate depending on the trailer's size and other factors like the material's weight. This option streamlines the process for larger DIY projects but requires careful consideration of your equipment’s specifications to ensure safety and efficiency.
Super Sacs Delivery
If your project demands are modest or you prefer segmenting the work, 1 cubic yard super sacs might be your best bet. These large bags make site management easier, keeping your property tidy and the aggregate dry. However, transferring the material from these bags still requires manual effort.
Dump Truck Delivery
The most straightforward method for larger projects is utilizing a professional dump truck service. Capable of delivering 10-12 cubic yards per trip, this option minimizes physical labor and speeds up your project timeline. Consider the stone slinger service for even more convenience, especially for areas that are tricky to access.

 15-Year Warranty from 50 Years of Excellence in Turf Innovation
 Proudly Sourcing Quality Materials from Canada & USA
  Superior Workmanship: 15-Year Warranty on Our Installation Services
 Step up from those landscape centers pushing low-grade Chinese turf—join the pros for quality you can trust!


