How to do Base Prep for Artificial Turf Installation
Posted by The Synthetic Turf Co. Calgary on 1st May 2024
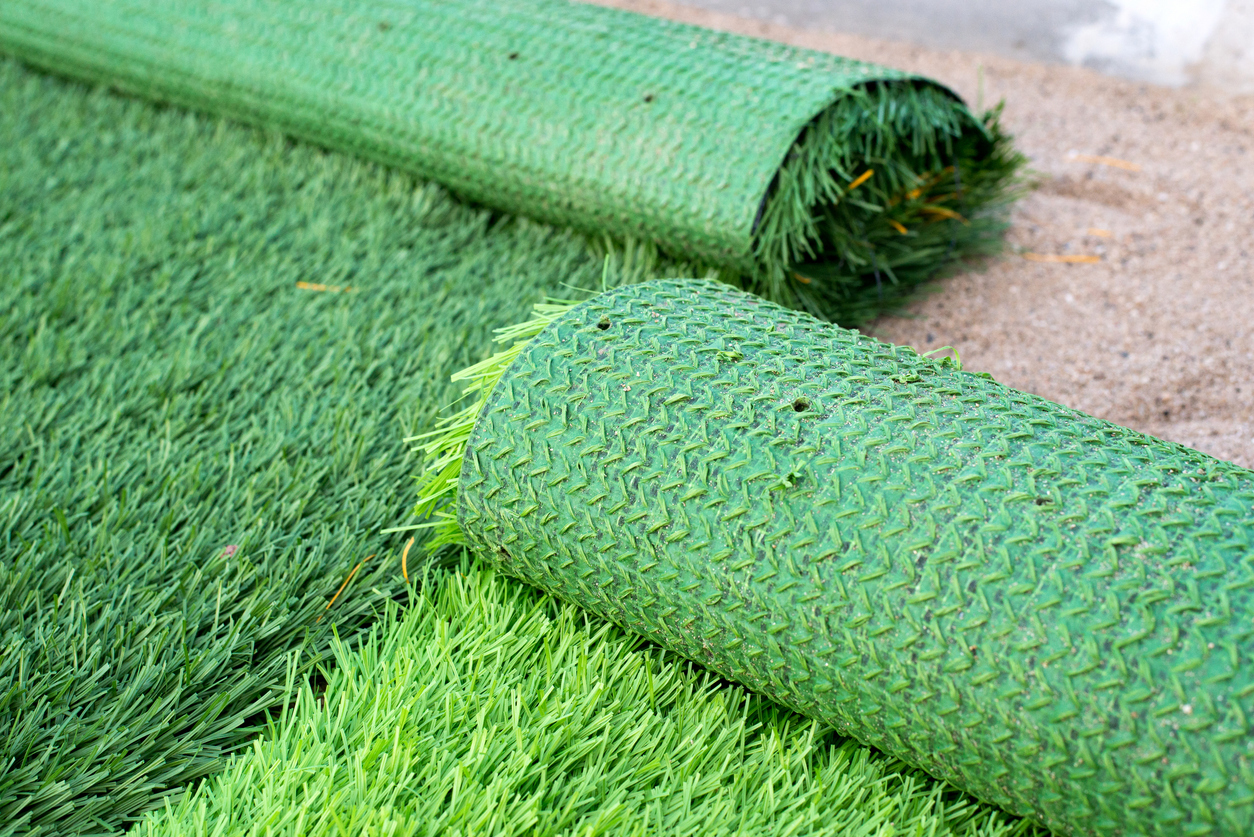
Artificial turf installation is a popular choice for homes these days, thanks to the minimal maintenance requirements and perennially lush appearance. However, there is more to the installation process than simply laying down the turf. Before that can happen, you'll need to prepare the base, which involves a bit of manual labour. Read on to learn more about what you'll need to do to get your yard ready for your new synthetic lawn. To learn more, or schedule a professional artificial turf installation, call the Synthetic Turf Co. today!
Step 1: Clear Any Existing Landscaping
Before you can roll out your turf, you'll first have to remove any natural grass or other plants currently in the location where you plan to do your artificial turf installation. This includes weeds as well. Be sure to dig down deep enough to remove the entire root structure so grass, plants, and weeds don't try to grow back. While your synthetic grass will block out the sun, making it difficult for anything to grow underneath, stubborn plants and weeds can still occasionally push up through the turf backing, which can lead to damage.
Step 2: Excavate and Grade the Installation Site
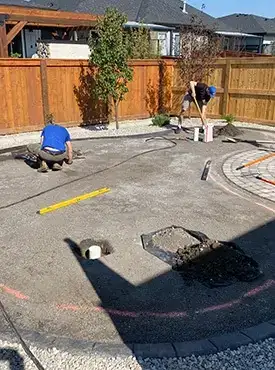
Now that site for your artificial turf installation is cleared, the next step is to dig down to make space for the turf and base layers. Aim for about 2.5 to 4.5 inches below where you would like the surface of your synthetic lawn to be. If your yard isn't flat, you may need to grade certain areas to create a smooth surface to minimize ripples and bumps in your turf. Depending on the configuration of your yard, you may need to add drainage as well.
Step 3: Install Any Border Materials
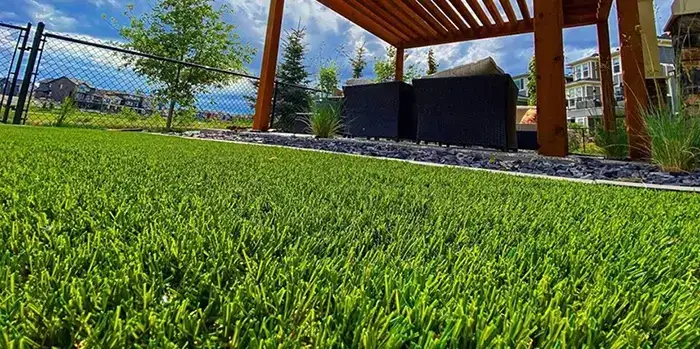
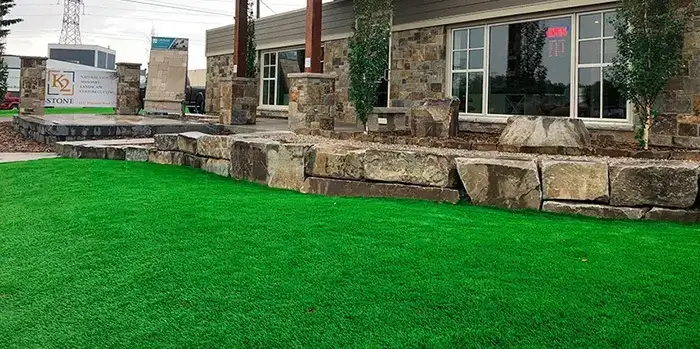
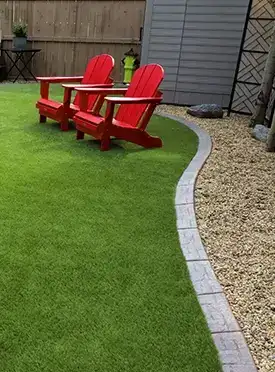
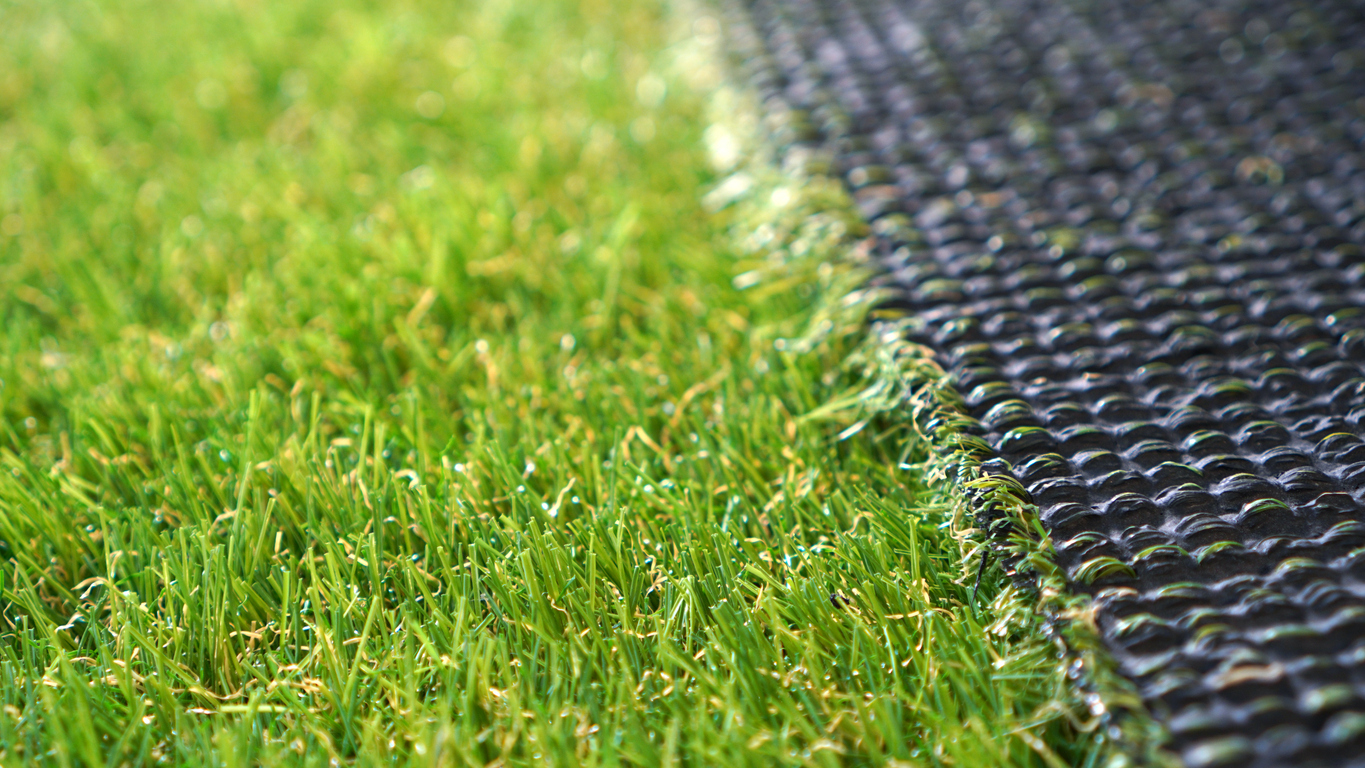
If you plan to have a border around your artificial lawn, which can improve the overall look, now is the time to do it. Paver stone walkways, bender boards, and decorative rocks are all great options for this purpose. While an irregular shape for your lawn's border can look great and add visual interest when compared with a basic square or rectangle, it also means that you'll have to cut the turf to fit the space, so keep this in mind when planning the design for your artificial turf installation.
Step 4: Compact the Underlying Soil
To ensure a smooth surface that won't shift and settle over time, it is crucial that you compact the base soil. A plate compactor can accomplish this task quickly. Try to get the surface as smooth and even as possible to ensure the integrity and longevity of your artificial turf installation.
Step 5: Add and Compact the Base Material
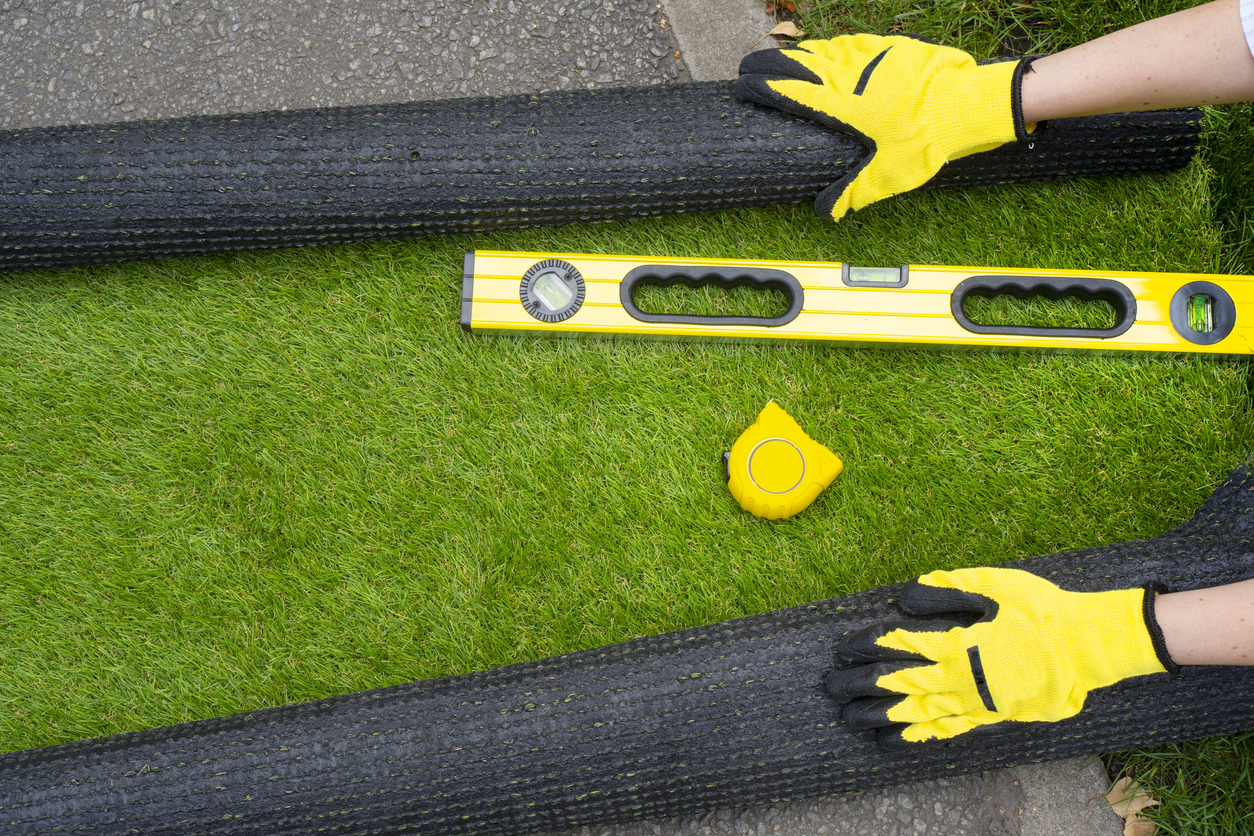
You have several options for base material depending on your needs and preferences, and your synthetic grass provider can make suitable recommendations for the specific turf you have selected and how you plan to use your artificial lawn. After laying down the material, use your plate compactor again to create a smooth surface.
Step 6: Lay Down Your Turf
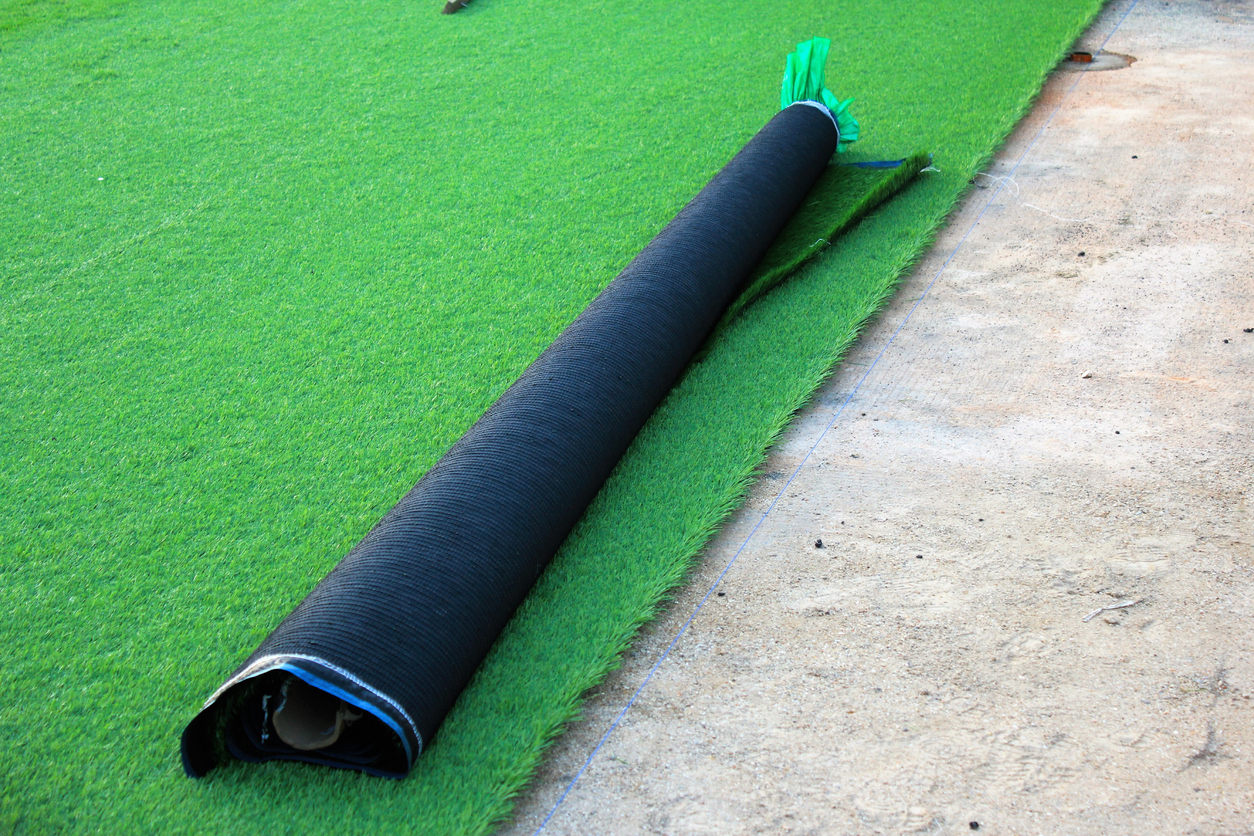
The final step in the process is to add the turf itself. This includes any weed barriers or padding you wish to add underneath the grass. While not absolutely necessary, weed barriers can help minimize ongoing maintenance and reduce the risk of tearing your turf. Padding can create a plush feeling underfoot that will more closely mimic the texture of a natural lawn.
Learn More About Artificial Turf Installation
Preparing the site and installing synthetic grass yourself can help you save a lot of money. However, if your goal with an artificial lawn is to minimize work for yourself, you may wish to leave the hard work to professional turf installers. Reach out to our team today to learn more about the process and book your professional artificial turf installation.
